No products match your search.
Our Measuring Guide
Written by Andrew Nixon
Designing a new kitchen is exciting but starts with accurate measurements. The measurements of your kitchen will serve as the foundation for your design, ensuring that everything fits perfectly and functions seamlessly. This comprehensive guide will walk you through the step-by-step process of measuring your kitchen, providing you with all the essential information you need to create your dream space.
Step 1: Prepare to measure
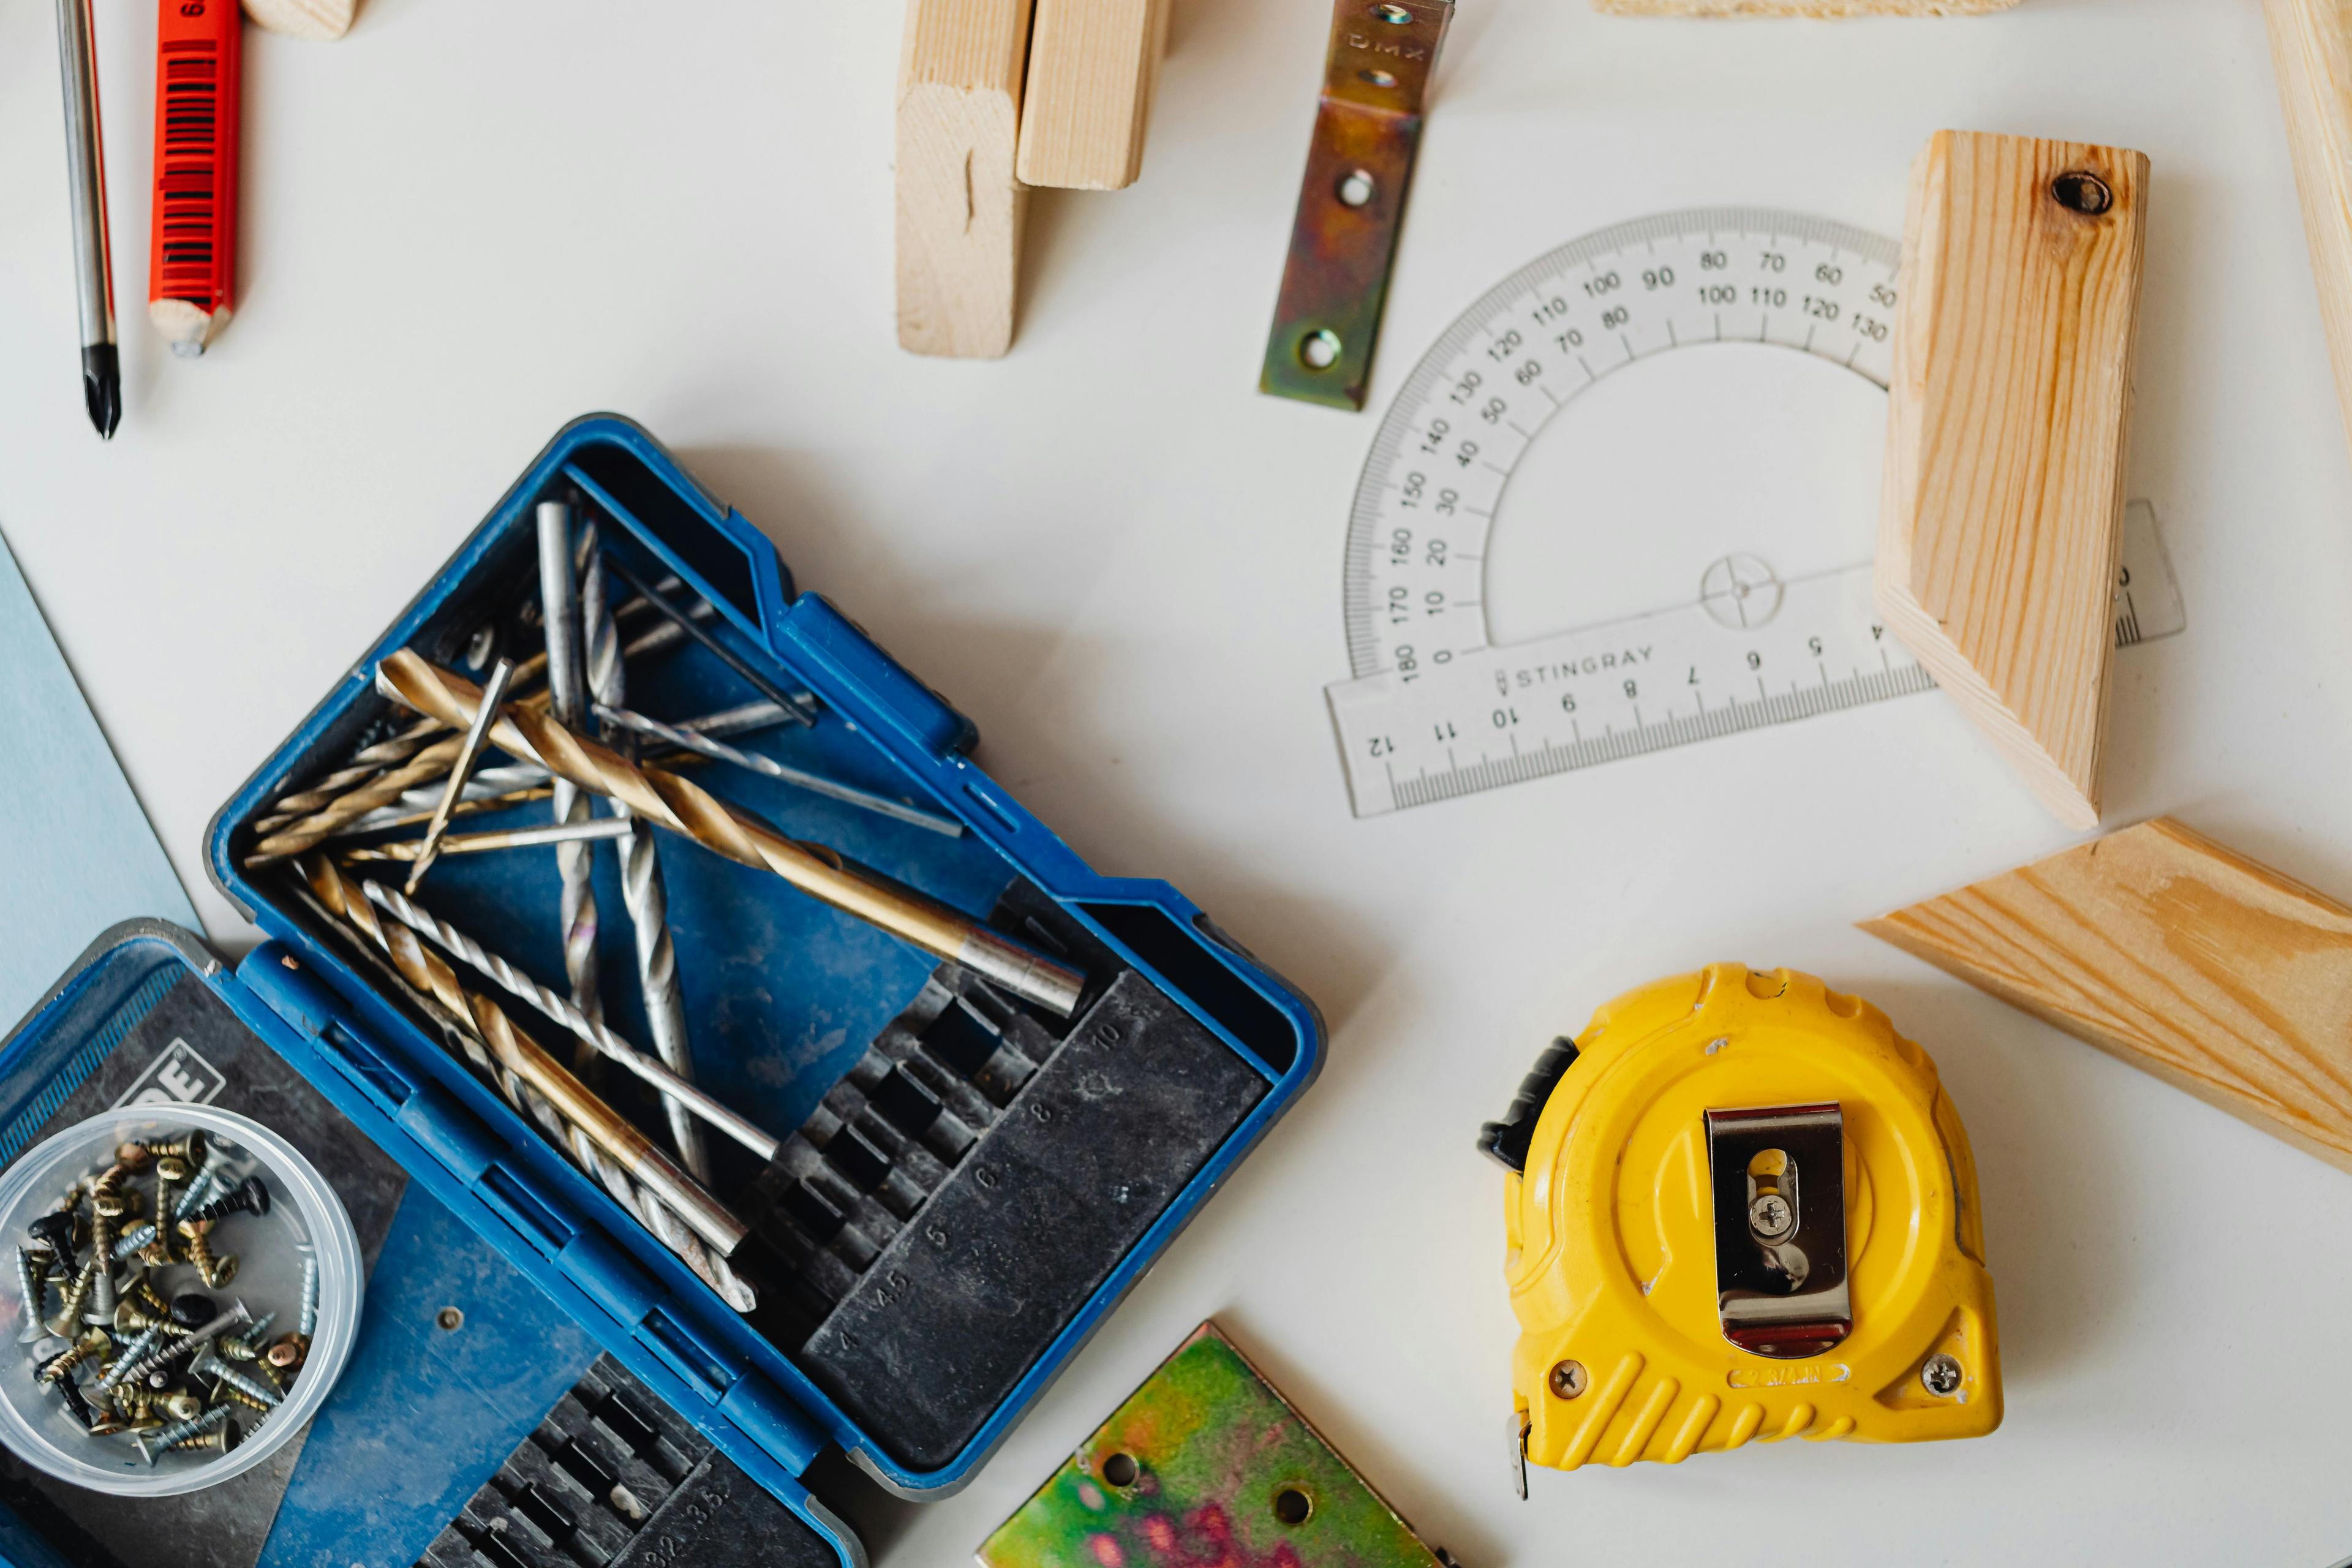
Before you begin measuring your kitchen, gathering a few essential tools and materials is crucial. Here's what you'll need:
- Paper (blank or graph paper is best)
- Pencil (and an eraser - you might make mistakes!)
- Tape measure
- Camera or smartphone for taking reference photos
Step 2: Sketch the Floor Layout
The first step in measuring your kitchen is to sketch the floor layout. Remember, your sketch doesn't need to be a work of art; it just needs to represent your kitchen's shape and layout accurately. Follow these steps:
- Start by sketching the rough shape of your kitchen, including any protrusions, such as a boiler or pantry.
- Mark the positions of doors and windows, indicating their opening direction.
- Show the existing location of water & gas pipes and any electrical wiring, switches and sockets.
- Take photos of your kitchen and any areas you need clarification for visual reference.
Step 3: Sketching Each Wall
Now that you have a floor layout sketch, it's time to focus on each wall. This step will help you identify fixed objects and potential obstacles to consider in your kitchen design. Follow these guidelines:
- Sketch each wall, including windows, electrical fittings, gas cooker points, extractor fans, and other fixtures.
- Note the dimensions and position of each fixed object.
- Consider architectural features, such as alcoves or sloping ceilings.
Step 4: Measuring fixed points
With your sketches complete, it's time to take precise measurements. Start by measuring the distance between fixed points in the room. Follow these steps:
- Measure from the outside edge of the door frame to the corner of the room.
- Measure from the corner of the room to the window reveals.
- Measure the size and position of all fixed objects, including windows, electrical fittings, and gas cooker points.
Step 5: Height and Vertical Measurements
To complete your kitchen measurements, you'll need to record the height and vertical distances of the room. This step ensures that you have a comprehensive understanding of the space. Here's what to do:
- Measure the room's height from floor to ceiling, noting any variations.
- Measure the distance from the floor to the bottom of the windowsills.
- Take note of any other vertical measurements, such as the height of eaves or sloping ceilings.
You should now have accurate kitchen measurements - along with as much information as you’ll need to design your dream kitchen. Ready to get started? Our kitchen planner is here to make your dream a reality! You can also book a call with one our expert in-house designers for advice on next steps by clicking here.
Request a Brochure
To receive a digital copy of our brochure and regular updates from us, please complete your details below.